These little ferns are great at procreating – you can easily take offshoots from the original plant to create new ones!
How to divide a staghorn fern is easier than you might think, and it will not only help make more space for the mother plant, but you can then have a whole host of others, to either keep or give away as gifts.
What You'll Learn Today
How To Divide A Staghorn Fern
Dividing a staghorn is relatively easy – these plants reproduce by sending out little “pups” from the main body of the plant.
Dividing your staghorn to make new plants is a fairly simple process, but one that you will need to take a little care with:
- First, you will need to work out which bit of your staghorn plant is which – there are three distinct parts to this plant.
- Fertile fronds are those that give the staghorn its name – they grow away from the main body and branch like deer antlers.
- Immature fronds do not branch, and instead create a dome at the front of the plant, behind which the roots grow.
- Offsets are the new plants forming from the original – they have both fertile and immature fronds, and it is these that you will want to remove when dividing your staghorn.
- Find an offshoot and trace back its root to the main plant. You should be able to gently twist it off to remove it.
- If it doesn’t come away easily, take a clean sharp knife or pair of secateurs, and carefully snip the offshoot off.
- Remount this new shoot in staghorn’s favorite conditions, and you will be rewarded with some strong new plant growth in no time!
- Either mount them straight away on a board or in a basket, or you can keep them temporarily in pots with loose, well draining growing medium like moss or bark chips.
- You can either keep these new baby staghorns to add to your collection, or give them away to friends and family – or strike up a business partnership with your local garden store!
How Do You Multiply A Staghorn Fern?
These clever little ferns will basically grow themselves from the mother plant – there is really very little that you have to do to encourage them to multiply.
Keeping your staghorn in the conditions it likes the most is the best way to encourage it to multiply – a plant that is healthy and happy will be more likely to reproduce.
You can, if you are very clever and have a lot of time, multiply your staghorn from spores, but as this takes such a long time it is best to do it the easier way!
All you need to do is keep an eye on your staghorn plant, and watch for when it produces “pups” – these are new shoots from the plant.
Make sure that each one has some sterile roots and fronds have already started to show up.
Remove them from the mother plant and keep them warm and moist until they are established.
After this time, you can decide whether you want to mount them on boards, grow them in a pot, or use a mesh hanging basket to show them off.
This useful article will tell you the best way to multiply these plants – as well as a whole lot of other useful staghorn information!
When Can I Transplant A Staghorn Fern?
Staghorn ferns are very slow growing plants, and won’t be bursting out of their pots any time soon.
These plants actually do best when they are slightly crowded; they really like to be cozy in their pots!
You will only need to repot your staghorn every few years (yes, you read that right!) and you should wait until they really, desperately need more space.
Repotting in the spring is the best idea; this is before the main growing season so the plant will be ready to shoot up with new growth in its larger space.
Repotting the plant in the winter, its dormant period, will likely stress the plant out and may hinder growth in the coming year.
If you need to transplant your staghorn because of health issues, you can obviously do this at any time – keeping your plant alive is definitely what you are after!
How Do You Divide A Large Staghorn?
Staghorn ferns don’t grow too quickly – but you may suddenly notice that your once-small fern has turned into a gigantic monster!
How do you divide it, whilst keeping the original plant and maybe having new ones to grow on or give away?
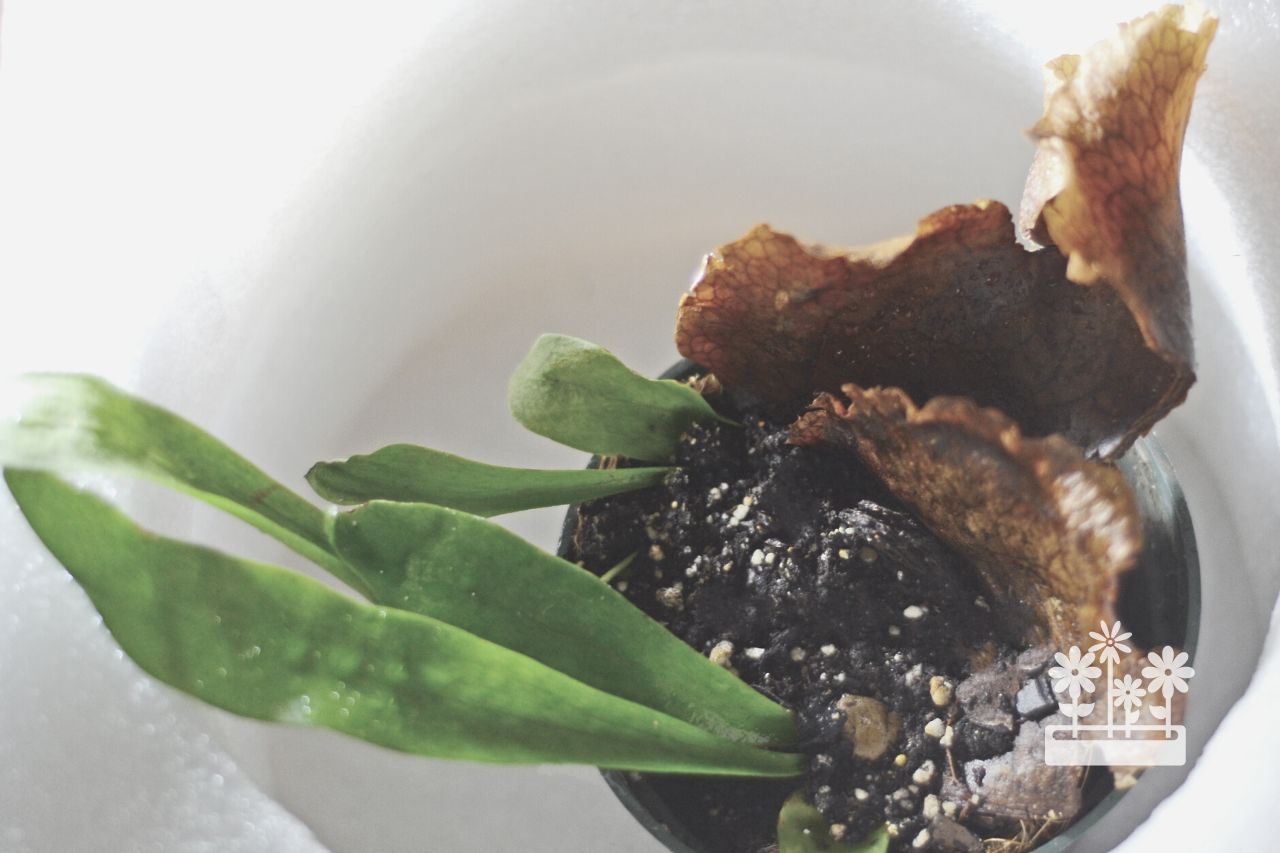
- One good tip is to wait until the outer “shield” has turned brown. This means that the plant is ready to send out new shoots and new shield leaves.
- Check the fern over (gently, of course!) for where the new shoots are coming from, and which fronds they are attached to.
- Take a clean, sharp knife and cut into the brown shield that covers the roots – be careful not to cut through any roots as you do this.
- Cut deeply into the groups of fronds that will have developed at the end of one of the long antler shaped leaves. Try to take the roots with you during this part of the process!
- Place the “babies” into some well soaked sphagnum moss before you relocate them to their permanent home.
- Repot the new divisions as you planted the original, and water both of them well to give them a little boost after their ordeal.
This video shows you how to repot a staghorn fern after it has grown to enormous proportions!
The answer to “how to divide a staghorn fern” is a pretty simple one, as you can see! Once you’ve mastered it, there will be no stopping you.
Once you’ve divided your mother plant a few times, you can populate your whole house with them, or give them away as quirky Christmas gifts.
Will I damage my Staghorn fern if I divide it too soon?
Dividing Staghorn Ferns shouldn’t really be done until the mother plant is large, healthy and mature. Wait until you can see the “pups” emerging from the main plant so that you can be sure of getting the strongest new plants without damaging the original.