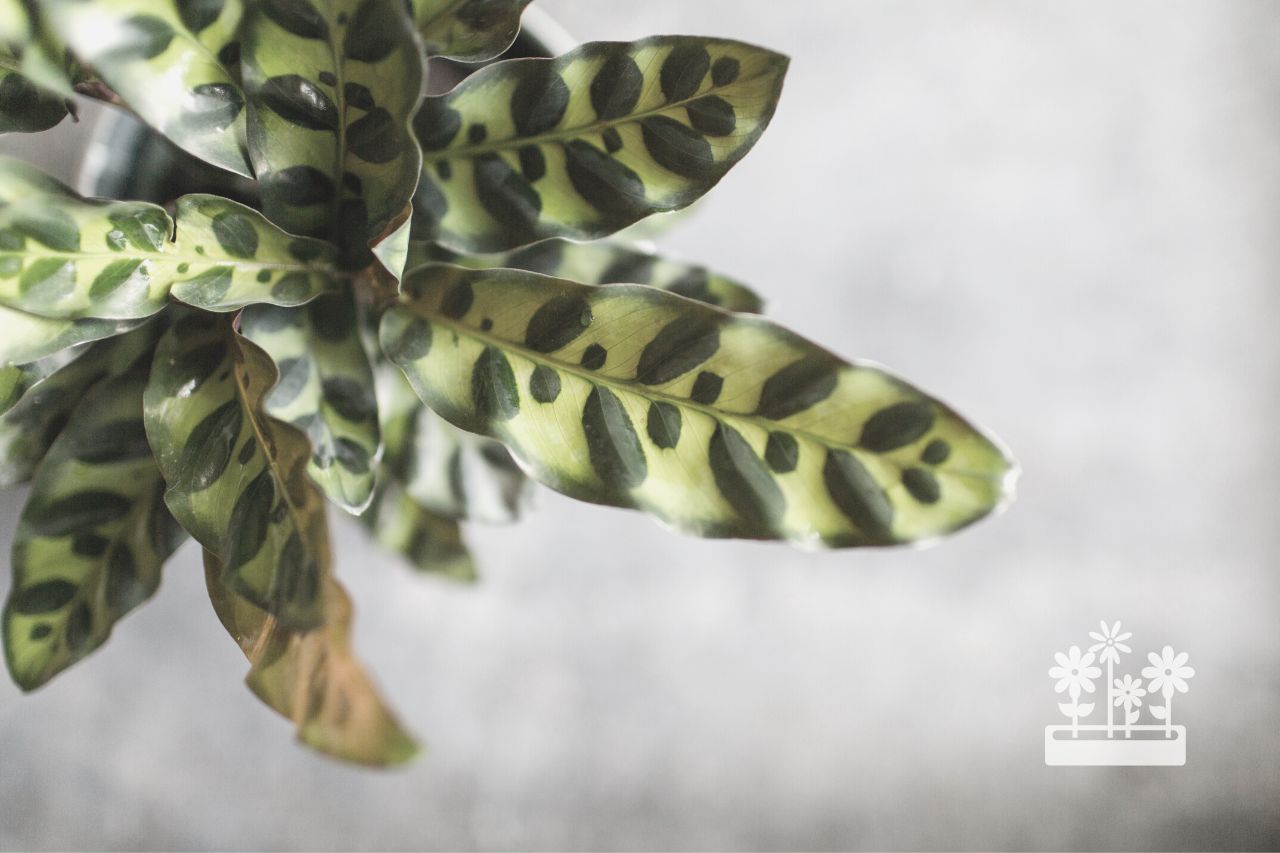
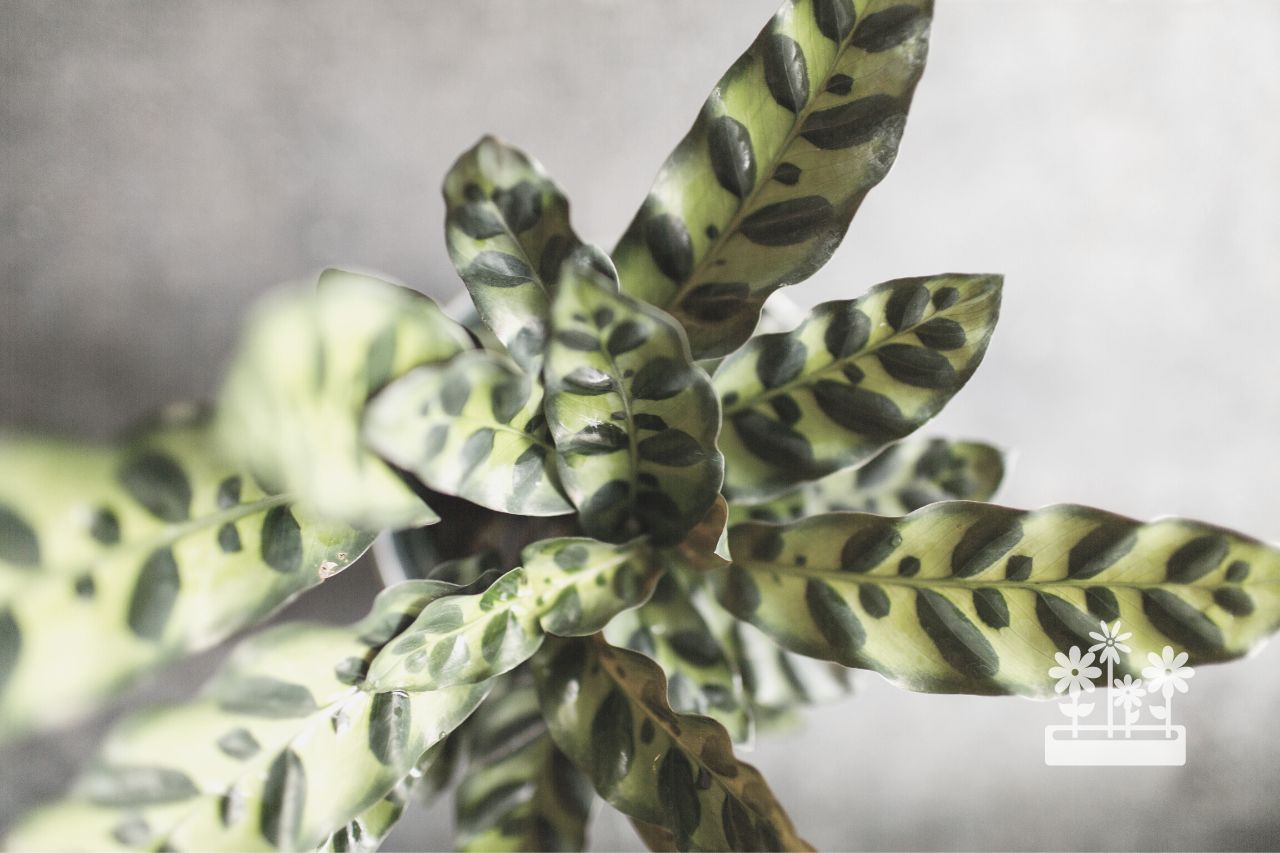
Goeppertia insignis (formerly known as Calathea lancifolia), or the rattlesnake plant, is a gorgeous houseplant known for its unique foliage. Although they are known for being slightly dramatic, they are great growers once you figure out their ideal care routine in your home. As with any of your favorite plants, one of the best things about the rattlesnake plant is the ability to propagate it. This article will take you through the easiest propagation method for rattlesnake plants, and how to establish a new cutting.
What You'll Learn Today
Can I Propagate a Rattlesnake Plant in Water?
In case you’re just starting in the world of plant care: propagation refers to the process of creating new plants from an existing plant. Many propagation methods exist, including stem cuttings, leaf cuttings, air layering, and division.
Once you decide on a propagation method, you can produce new roots on your plant via water or soil. Although an easy, popular method for growing roots, water propagation will not work with rattlesnake plants.
Most plant owners will only have success in propagating their rattlesnake plants by dividing sections of the plant from the root ball and planting the new section in potting soil.
How Do You Split a Rattlesnake Plant?
Although dividing your rattlesnake plant is a simple process, it can also be delicate. Any time its sensitive roots are disturbed, you risk inducing severe stress for your plant. Here’s how to do it properly:
Step 1: Remove the Plant From Its Pot
If your rattlesnake plant is in a plastic pot, you can squeeze the sides of the pot to loosen the dirt, which makes it easier for the plant to slide out of the container. Otherwise, slowly tip the plant at a downward angle, and gently tap the sides of the pot.
If the potting mix is loose enough, at this point, you should be able to carefully grab the base of the plant and coax it out of the container.
Step 2: Remove Excess Soil
When repotting a plant normally, you don’t always need to remove soil from the root ball. Since you’re dividing the root system, however, you’ll need to remove enough dirt so that you can see the entire root ball.
Use your fingers to brush off the loose soil carefully. It may be helpful to do this when the plant is due for a watering, since the soil will crumble away from the roots more easily.
Step 3: Divide the Roots
You should be able to see clumps of stems that will readily divide when gently pulled apart. These sections usually contain the most recent growth.
Once you find a natural division, carefully work through the roots with your hands and try to pull the section away from the rest of the plant without breaking any roots. Some root loss is inevitable.
If you have a good start on separating a section but are having difficulty getting the last roots to come away from the mother plant, you can use a knife.
It’s important to use a sterile, sharp knife when dividing roots. A dull blade can cause more trauma to the roots than necessary and spread disease if it’s dirty.
Step 4: Plant New Sections
Depending on the size of the original plant, you may be able to divide it into a few sections. Once you have your new starts, grab a container and some well-draining soil mix to plant them in.
Be sure to choose a pot that is only slightly larger than the root ball. When plants are in oversized containers, watering will cause them to sit in more water than the roots can absorb for too long. This can result in root rot and the eventual death of the plant.
Place the plant in the pot so that the soil level is about an inch below the pot’s rim, and is even with the top of the root system.
Step 5: Water Thoroughly
After all that hard work your rattlesnake plant has been through, it will need a nice, deep watering. Slowly water the soil until the water flows out from the drainage holes.
How To Care For Rattlesnake Propagations?
Dividing a plant is half the battle when it comes to the propagation process. It’s crucial to give your new cutting some extra TLC in the first few weeks to ensure success in its new container.
The three most important factors involved in propagating a rattlesnake plant successfully are:
1. Water
During the first couple of weeks after planting your cuttings, make sure the soil stays evenly moist at all times, but never waterlogged. This is why an appropriately sized pot is so important – as long as you aren’t watering too frequently, the soil will retain the moisture it needs without having more water than the roots can handle.
2. Light
Although rattlesnake plants can prefer lower-light areas, you may want to increase the amount of light your propagation receives at first, to help it get established.
3. Humidity
Along with similar plants in its genus, rattlesnake plants require lots of humidity to thrive. Without it, you might notice the leaves curling or developing brown, crispy edges.
Newly propagated rattlesnake plants require even more humidity than usual to establish and begin growing new roots. Ways to accomplish this include putting the cutting in a terrarium or humidity dome/cloche, placing a clear ziploc bag over the plant, or placing an extra humidifier nearby.
As long as you can provide those three factors, your newly planted rattlesnake plant should root and start growing within a few weeks. To check the status, gently tug on the base of the plant. If you feel resistance, it’s likely that your plant’s roots have grabbed onto the soil successfully.
When your rattlesnake plant’s roots are established in the pot, or you start to see new growth, you can start to acclimate the plant to a lower humidity level, and start caring for it the way you care for the mother plant.
For some general care tips about rattlesnake plants, this YouTube video gives a good overview:
Once you get the hang of propagating, and caring for the fragile new cuttings, it can be addicting. It’s a rewarding, cost-efficient way to grow your collection (or a friend’s).
Just remember – plant parenthood is all about trial and error. Your first several attempts at propagating may be a bust, but they won’t be a waste, since you’ll be better prepared for the next attempt.
Can I propagate a Rattlesnake plant from just a leaf?
These forgiving plants really want to grow – so much so that you can grow a whole new one from just a leaf of the old plant! Simply place the cut end of the leaf into a jar with 3 inches clean rain water or spring water and wait… After a couple of months you should start to see roots forming. It takes a while, but it’s worth it!