Repotting a rubber plant can seem intimidating, especially if yours is particularly tall. But once you learn the basics and do it once, it will be so much easier the next time. In this article, we’ll talk about when to repot your rubber plant and guide you through the process.
What You'll Learn Today
How Often to Repot a Rubber Plant?
The frequency in which you repot your rubber plant depends on a few factors. Typically, healthy rubber plants are moderate growers and only need to be repotted once every 2-3 years.
Here’s when it’s time to repot your rubber plant:
- It has outgrown its pot: If you notice your rubber plant looking crowded in its pot or the roots are growing out of the bottom, it’s definitely time to repot into a bigger container.
- It’s been 2-3 years: After a few years, the quality of the soil and the nutrients it provides start to degrade. If your plant hasn’t quite outgrown its pot but it’s been a few years, it’s time to switch out the soil.
- The soil isn’t draining/drains too quickly: If there are noticeable drainage issues with the soil, you may need to investigate and possibly repot.
- You just brought it home (maybe): If the pot that your rubber tree came in when you bought it wasn’t the appropriate size, or the soil didn’t look great, you may want to repot it soon. If possible, let it get used to its new environment for a few days first. If the plant is clearly thriving and the soil looks fine, don’t bother it!
Do Rubber Plants Like to Be Root Bound?
There are some plants that like their roots to be crowded, and thrive with little space to grow. Rubber trees are not one of those types of plants.
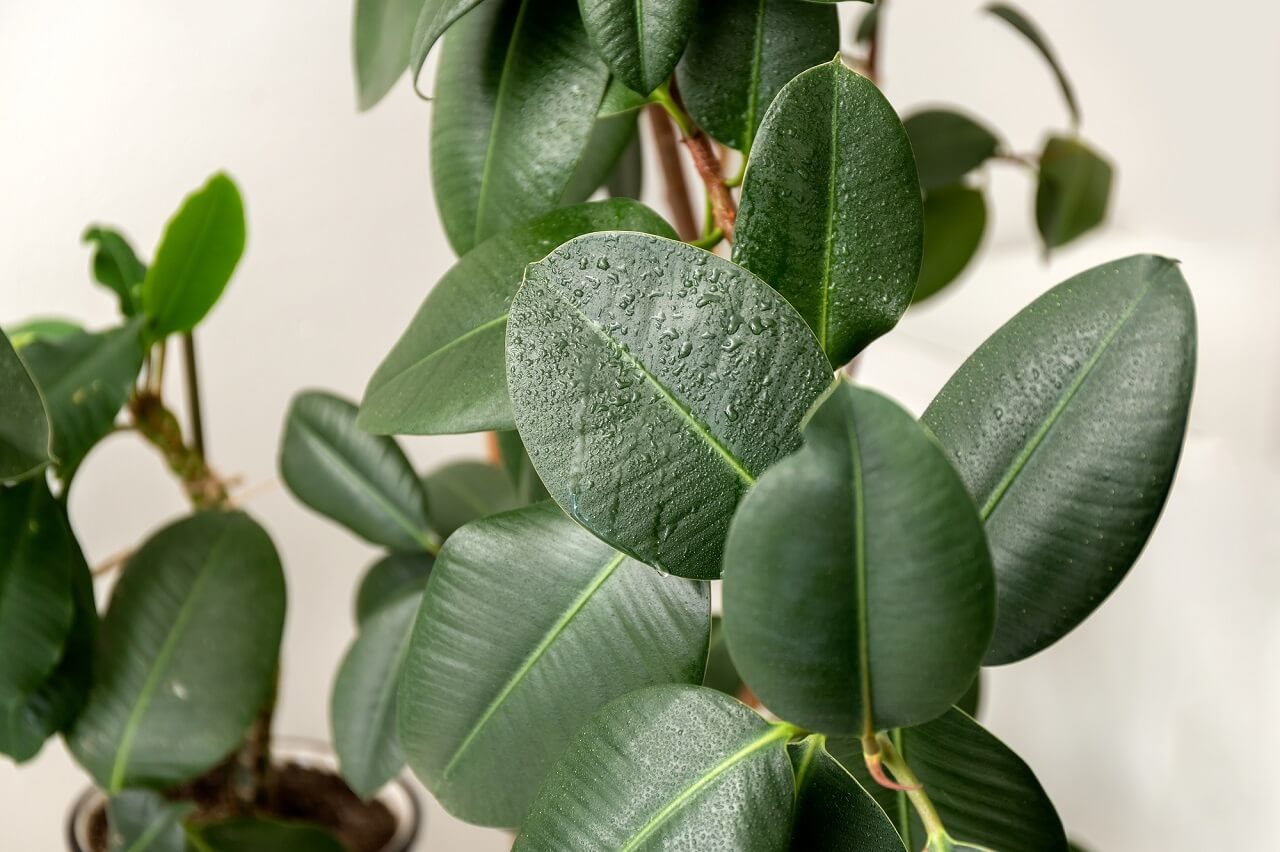
Rubber plant roots need a good amount of space to grow and expand, or the plant will not grow as well. In addition to lack of growth, root-bound rubber plants might show:
- Droopy leaves
- Brown or yellow leaves towards the bottom of the plant
- Roots sticking out of the top of the soil
For these reasons, it’s best to repot as soon as you notice that your rubber plant is pot-bound. When you repot, be sure to comb through the roots with your fingers and separate them as best as you can. You may end up having to trim some of the longer roots, but this shouldn’t harm the plant.
What Type of Soil Does a Rubber Plant Need?
Rubber plants need soil that drains well to prevent it from retaining too much moisture. While they do enjoy consistently moist soil, sitting in a soggy potting mix will make them pretty unhappy.
Any well-draining, all-purpose, commercial potting mix should be fine for your rubber plant. If you prefer making your own potting mix, good soil for these plants includes:
- Potting soil
- Perlite
- Coco coir
- Coco or pine bark
If you mix the drainage amendments (perlite, coir, and bark) together, you can easily use 1 part of soil and 1 part of the drainage mix.
Another good solution is to use a regular potting mix and add in perlite to up the drainage factor.
How Do You Transplant a Rubber Plant?
The process for repotting a rubber plant looks similar to repotting most other houseplants. If possible, try to wait until spring or early summer. This is the time that your rubber tree will most readily establish itself in fresh soil.
Step 1: Choose the Right Pot
Rubber plants like having some extra space to grow. In general, when you repot, you should pick a container that’s one or two sizes larger than its current one, or about ⅓ larger than the size of the root ball. Make sure the pot has drainage holes.
Step 2: Fill the Pot With Soil
Fill the pot about ¾ of the way with potting mix.
Step 3: Moisten the Soil
If the potting soil you’re using is very dry, moisten it before you put the plant in. This will make it easier to work with.
Step 4: Put the Plant in the Pot
Gently set the plant on top of the soil. The top of the root ball should sit about 2 inches under the rim of the pot.
Step 5: Top Off Soil
Fill in the area around the plant so that the soil is even with the base of the plant. Don’t tamp it down too much, since you want the soil to stay airy and not get compacted.
Step 6: Water
Give the rubber plant a good thorough watering until it drains from the bottom of the pot. You might have to add a little more soil after this since it usually settles after watering.
Step 7: Leave it Alone!
There’s a good chance that your rubber plant may look a little sad after you repot it. This is normal. Give it time to get used to its new digs, and it should perk up soon.
If you’d like a visual demonstration, watch this YouTuber repot her rubber plants:
If repotting plants makes you nervous, you’re not alone. We all want what’s best for our houseplants, and want everything to go smoothly.
Fortunately, rubber plants are pretty forgiving, hardy plants that don’t mind being repotted. As long as you’re keeping up with its basic needs, your rubber tree should be thriving in no time.
Should I feed my Rubber plant after repotting?
You can, of course, give your plant a dose of nutrients to help it through the shock of repotting – but this is not actually necessary. Although it may look a little sad for a few days after it has moved into its new home, this is normal stress from which the plant should recover quickly.
Steps for transplanting rubber plants. Water the rubber plant a day before transplanting. Take the rubber plant from its container. Cut back all diseased roots and leaves. Transplant your rubber plant.