If you’re lucky, your jewel orchid will grow so big and healthy that it eventually needs a new pot. When this happens, how to repot jewel orchid? We have a whole list of ideas that will help you to repot your jewel orchid so that it thrives and grows as healthily as it possibly can!
What You'll Learn Today
How To Repot Jewel Orchid?
You won’t have to repot your jewel orchid too often – in fact, most won’t have outgrown their pots within two years!
- Keep an eye on your plant, and repot it if you start to see roots poking out of the pot – this is a definite sign that it needs a new home.
- If your plant has had a growth spurt and is starting to look top heavy and wobbly, this is another good sign that a new pot is due.
- Carefully remove the plant from its original pot, taking care to not break the exposed roots.
- Shake off the excess soil – this is also a great time to check the roots for good health and make sure there are no insects hiding in there.
- Place your jewel orchid into a pot that is at least 2 inches larger than the previous one, that is half filled with potting soil.
- Your soil should be a mixture of peat moss and perlite, with a little specialist orchid compost thrown in – this will give your orchid the best start.
- Fill the pot with the soil, so that the roots are covered and the plant is firmly bedded in.
- Water it well, then place it in a warm room well out of direct sunlight. Try to maintain the temperature of the room so that your orchid isn’t stressed by temperature changes or droughts.
- Although it likes low light, your jewel orchid still needs sunlight to survive, so make sure its spot does receive natural light – just avoid direct sunlight.
- Keep the conditions humid, either by installing a pebble dish or using a humidifier.
- Misting can also be done, but do take care not to be too vigorous with this, as it can cause rot.
If you’d like to see these instructions rather than read them, here is a useful video taking you through it step by step:
When Should I Repot My Jewel Orchid?
Although there is no hard and fast rule as to when you should repot your jewel orchid, there are some guidelines you should follow.
These plants grow as wide as they do tall, so they will be happy in a shallow pot as long as it is wide enough to house the roots.
Repotting occasionally is good to freshen up the soil, plus it gives you an opportunity to check on the health of the roots.
You shouldn’t have to repot your jewel orchid, once it has reached its full size, more than once every two years.
If you notice roots protruding from the soil, it is definitely time to give your jewel orchid a bigger home!
Also, plants can show their discomfort by wilting and looking sickly, so if you spot these signs then it is worth going for a new pot.
How Do You Transplant A Jewel Orchid?
Transplanting your jewel orchid is quite an easy thing to do, and requires less work and care than a standard orchid can.
You can transplant it to give it more space to grow, or to prevent overwatering damage, or to give the plant clean soil in the case of pest invasion.
If you live in a warm area, you can even transplant your jewel orchid to live outside – but it is much harder to monitor conditions when growing outdoors.
- Remove the plant from its pot, shake the soil off the roots and check them over carefully for any damage.
- Trim away any dead or damaged roots – don’t worry, this will actually help the plant to become healthier in the long run.
- Replace the plant in fresh, clean soil.
- Water it in well, then hold off on the watering for a few weeks, to avoid stressing the plant or causing damage like root rot.
Once repotted and happy in a larger, clean pot filled with good soil, your jewel orchid should reward you with strong, vigorous growth year on year.
What Is The Best Potting Mix For Jewel Orchids?
Unlike most orchids, this variety doesn’t need to be planted in special orchid compost – it can be planted in almost normal soil!
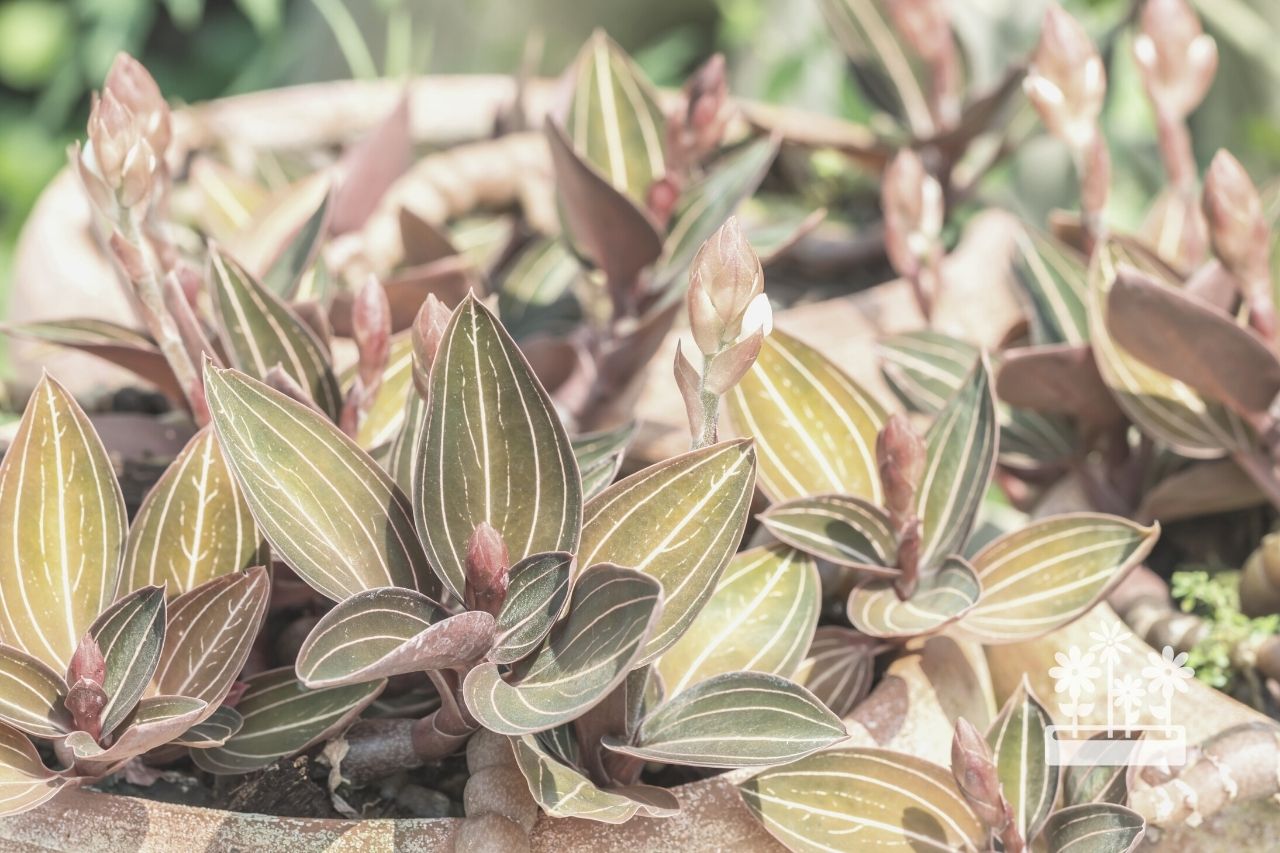
In the wild, these orchids are terrestrial, choosing to grow on the ground rather than in a tree.
This preference means that you can plant them in something that is far closer to soil than most other orchids will tolerate.
That being said, you will still have to pay attention to your orchid’s growing medium – it won’t be happy in standard soil that you have scraped out of your garden!
- Choose a well draining potting mix – this is particularly important, as these plants will not tolerate sitting in soggy soil for long.
- Add orchid potting mix. This is a specially formulated growing medium that is designed for orchids.
- Perlite should also be included. This will retain a little moisture, but more importantly it will aerate the soil to give your orchid good drainage.
- You should also add a little peat moss. Not only is this substance high in nutrients, but it will also help with aerating the soil too.
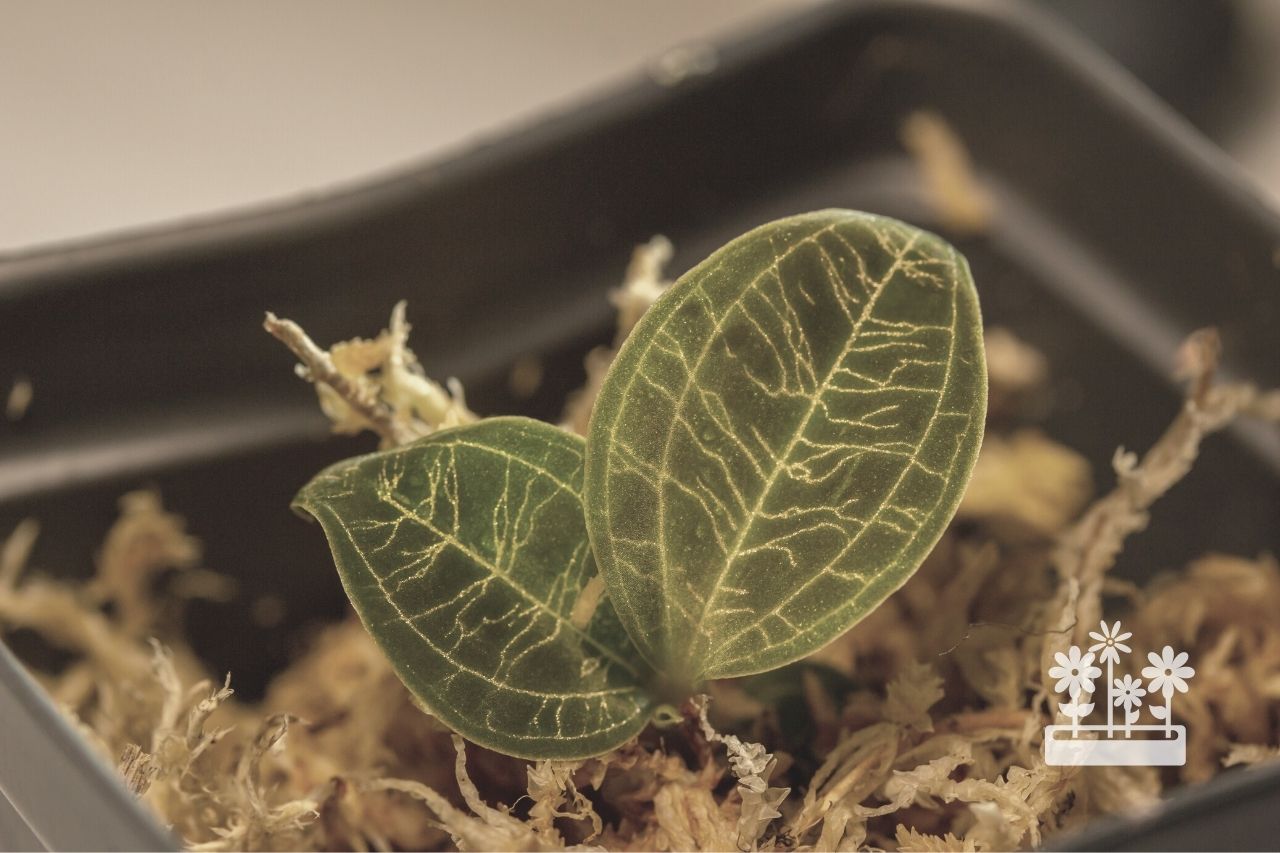
- Sphagnum moss is another good growing medium for jewel orchids – they can be kept moist but not too wet, and the texture of the moss is ideal for those clinging roots.
Repotting plants is a big part of being a gardener – you love them and grow them so well that they need bigger houses, right?
Hopefully you now have a better idea of the best way to repot your jewel orchid, to keep it happy and thriving for as long as it can.
I want to repot my Jewel Orchid, but it’s coming up to winter. Can I still do it?
You can repot at any time of year, if your plant is in need of a new home or needs to be cleaned of pests. Just bear in mind that repotting in the colder months can stress the plant more, and it might take longer to recover.